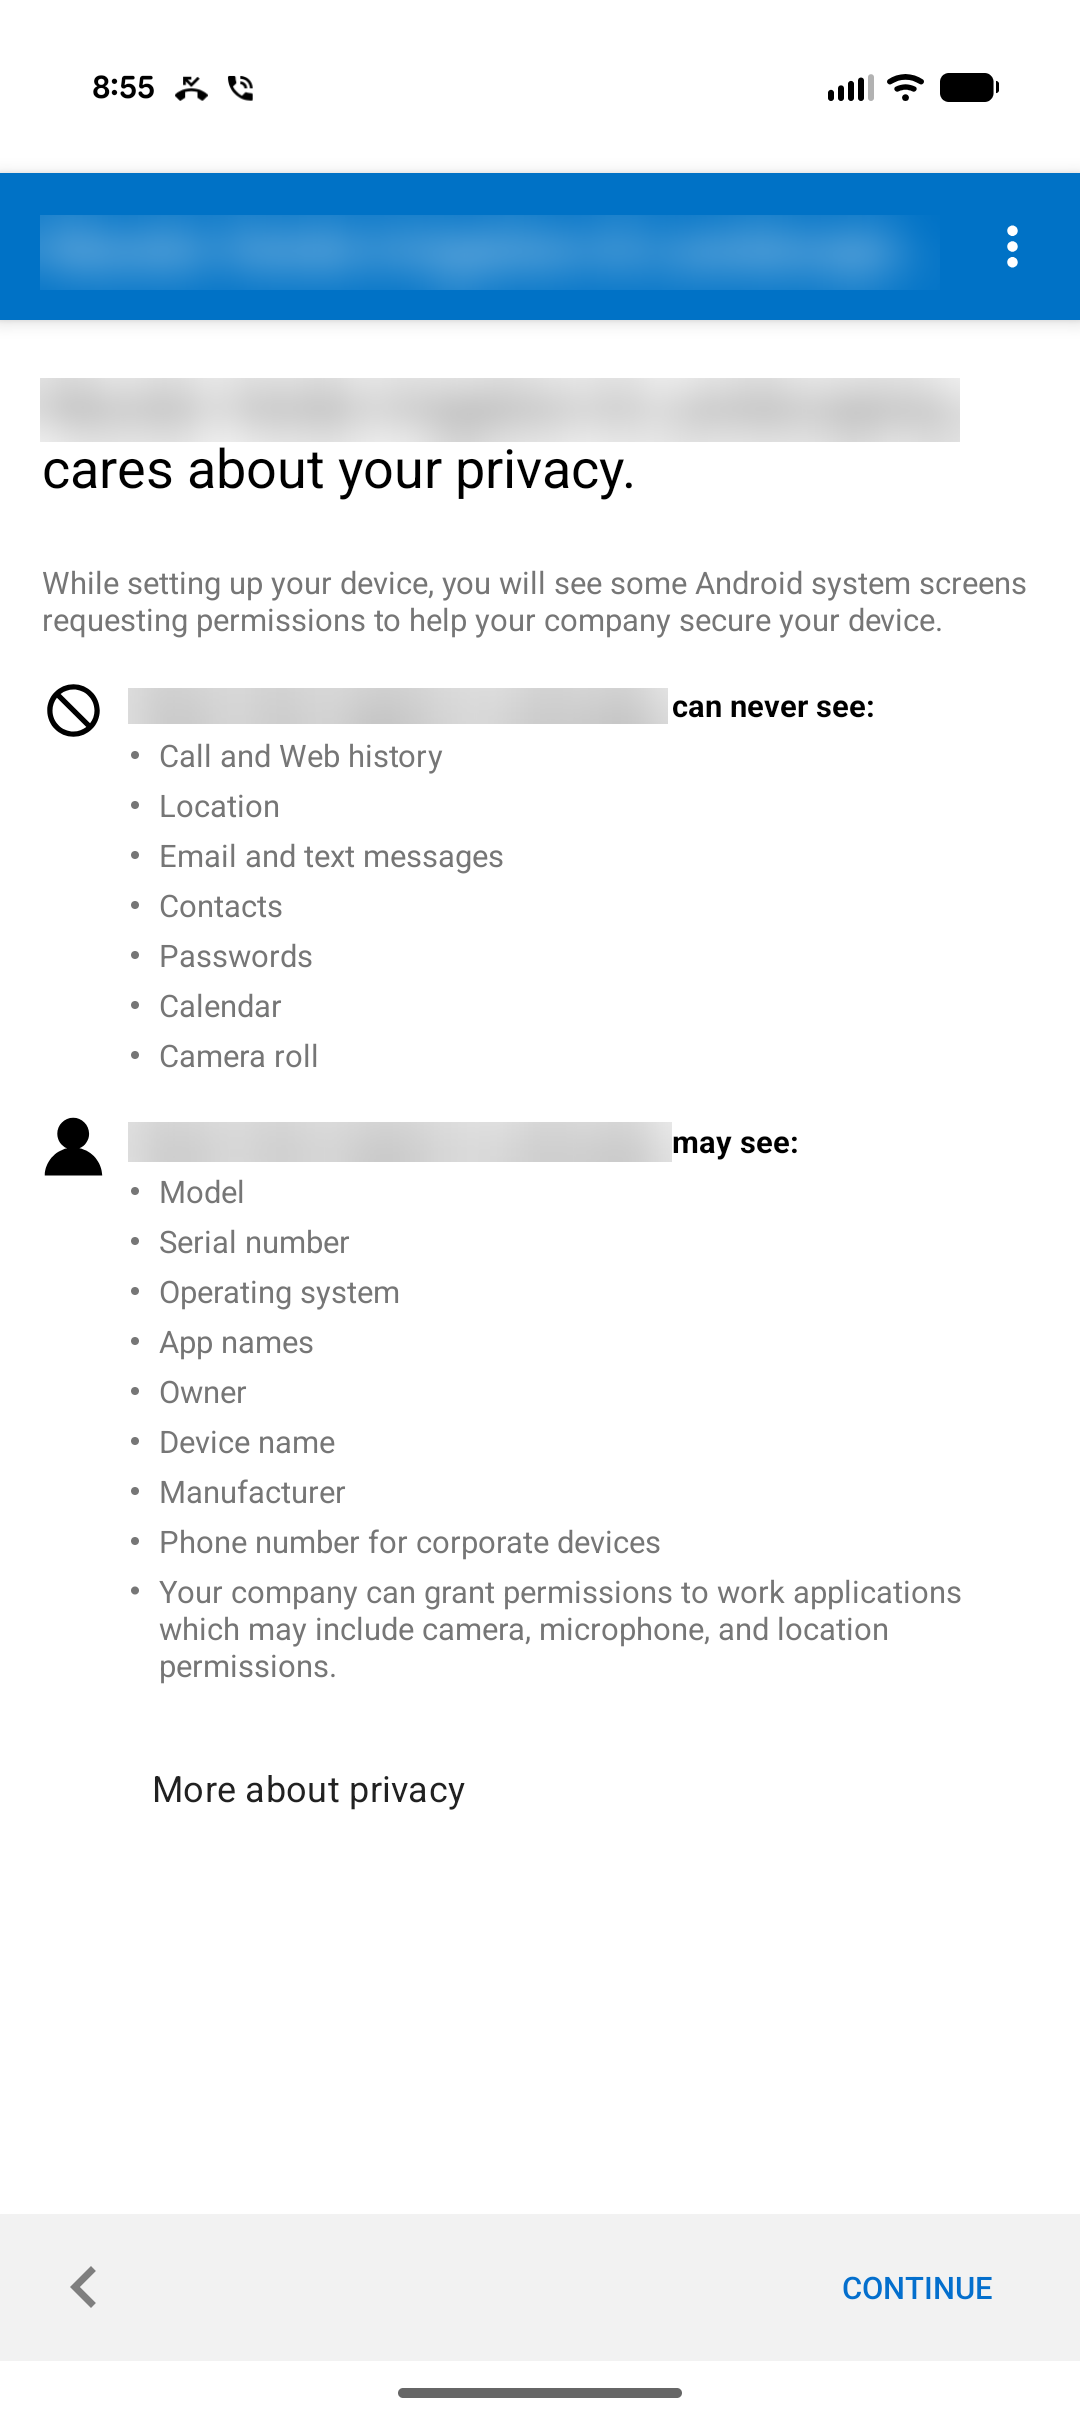
Privacy: Enrollment does not give the company access to your personal data. The company can see device details such as model, serial number, operating system, and the names of work apps. It cannot see your call and web history, location, personal email and texts, contacts, passwords, calendar, or camera roll.
Procedure
Step 1: Install Company Portal
Company Portal is Microsoft's free app for enrolling your device. Install it from Google Play.
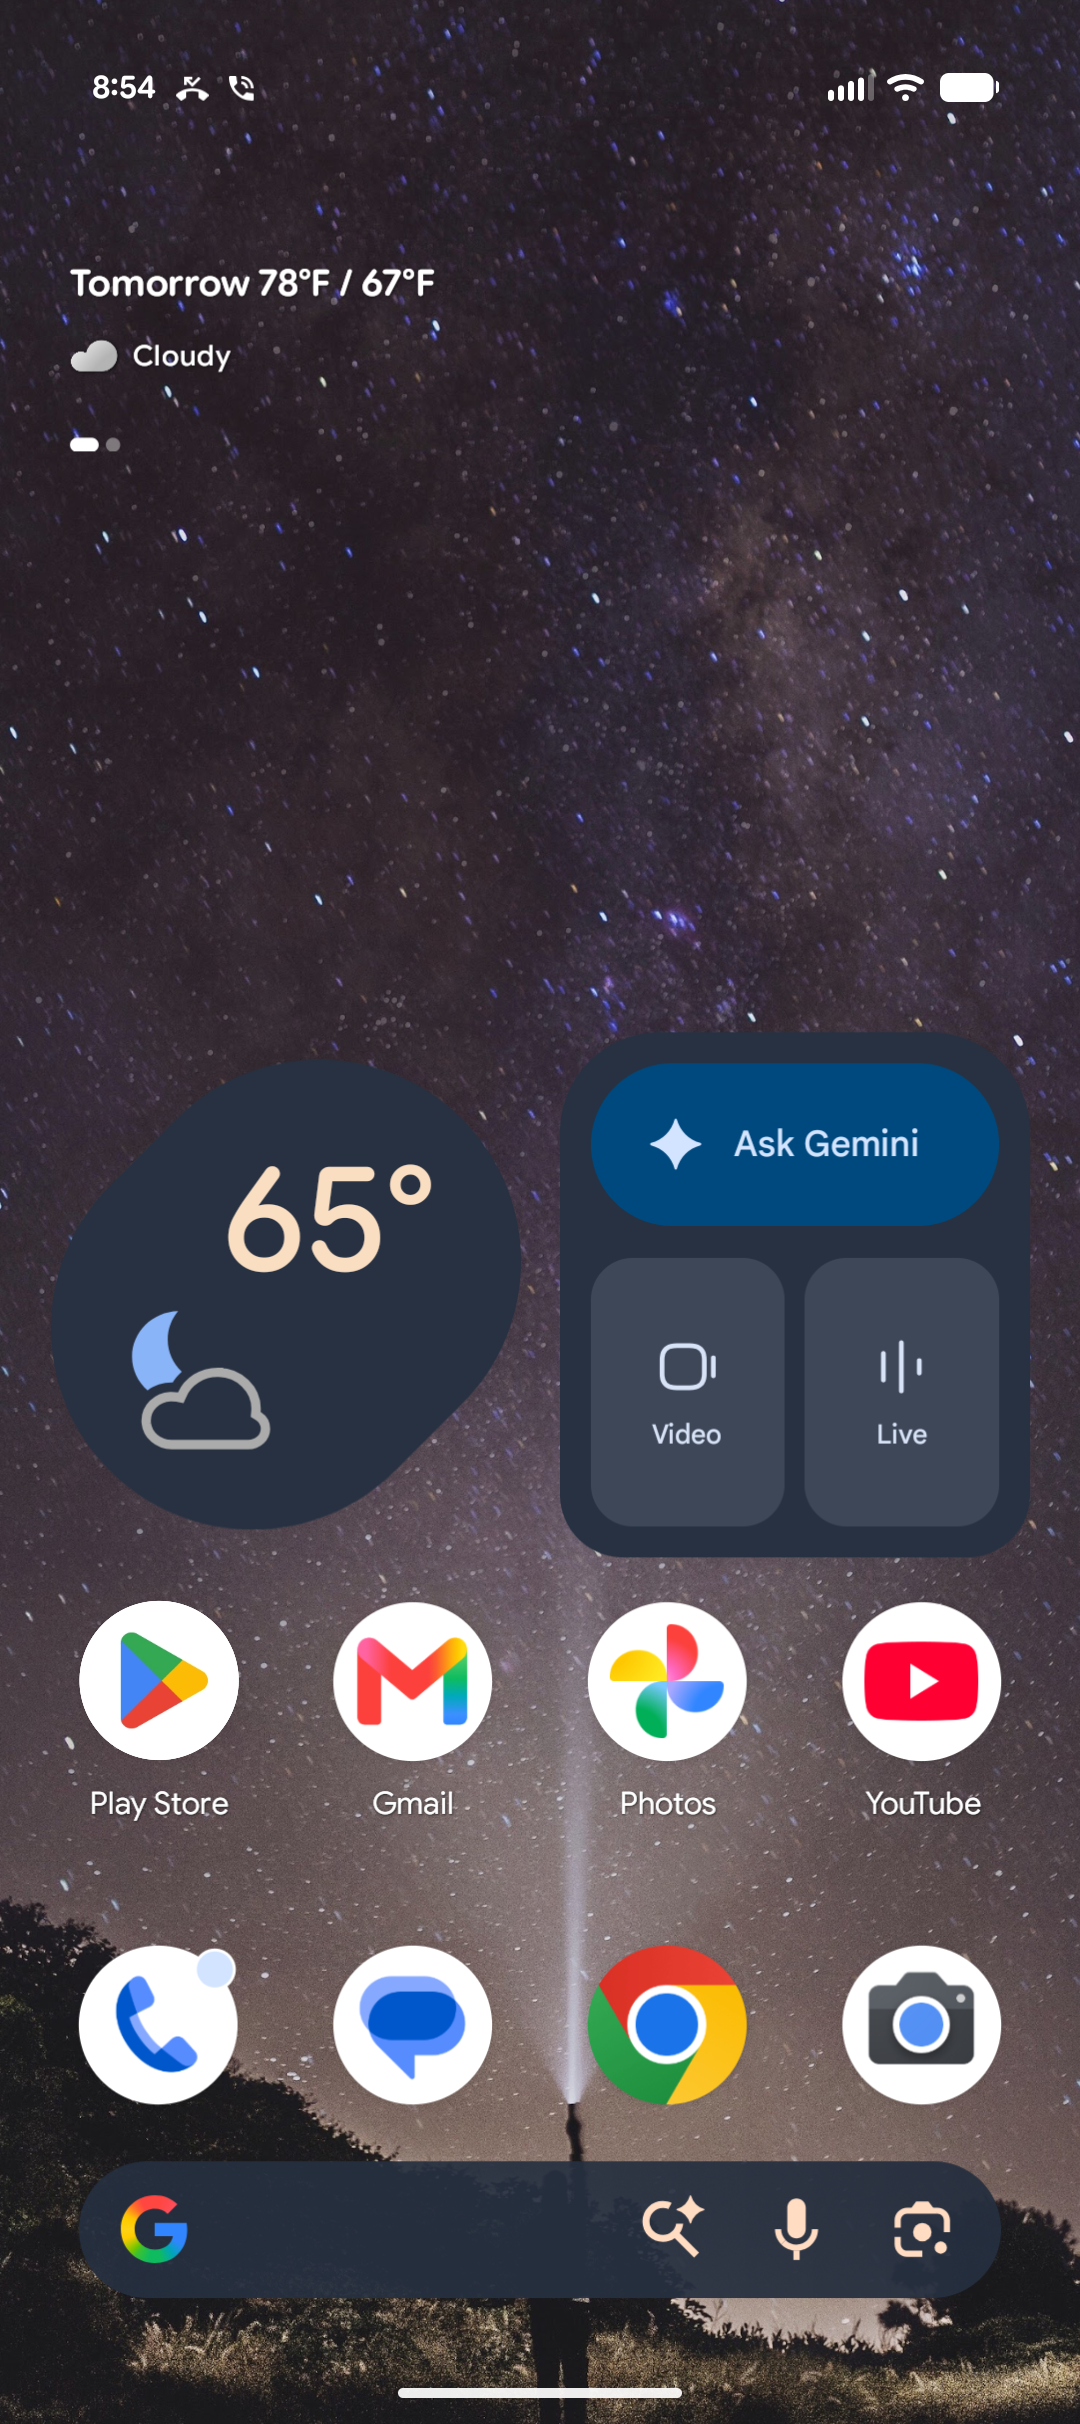
- From the home screen, openPlayStore.
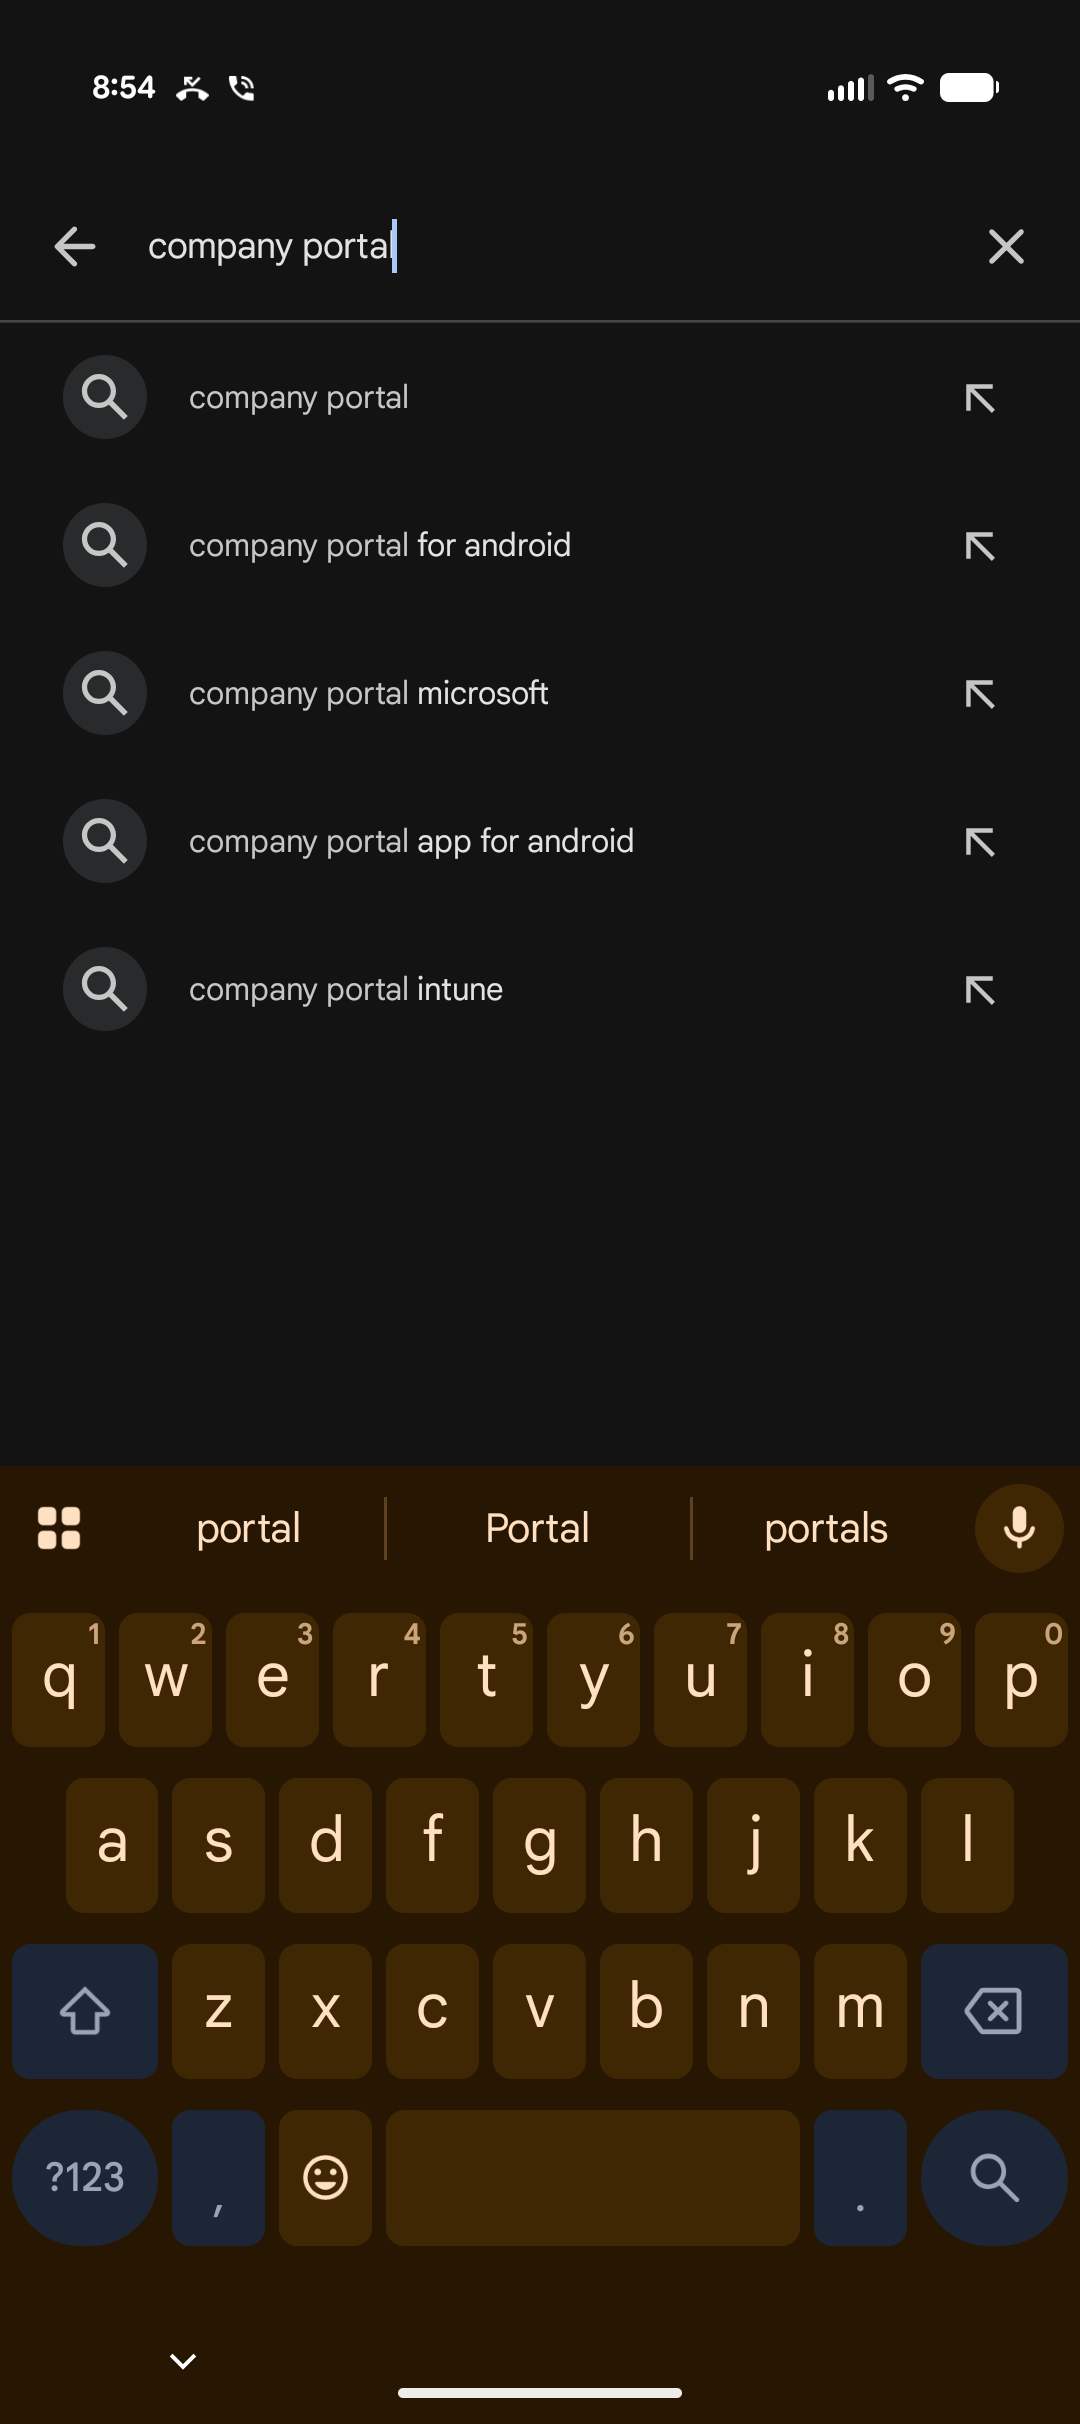
- Search for "company portal".
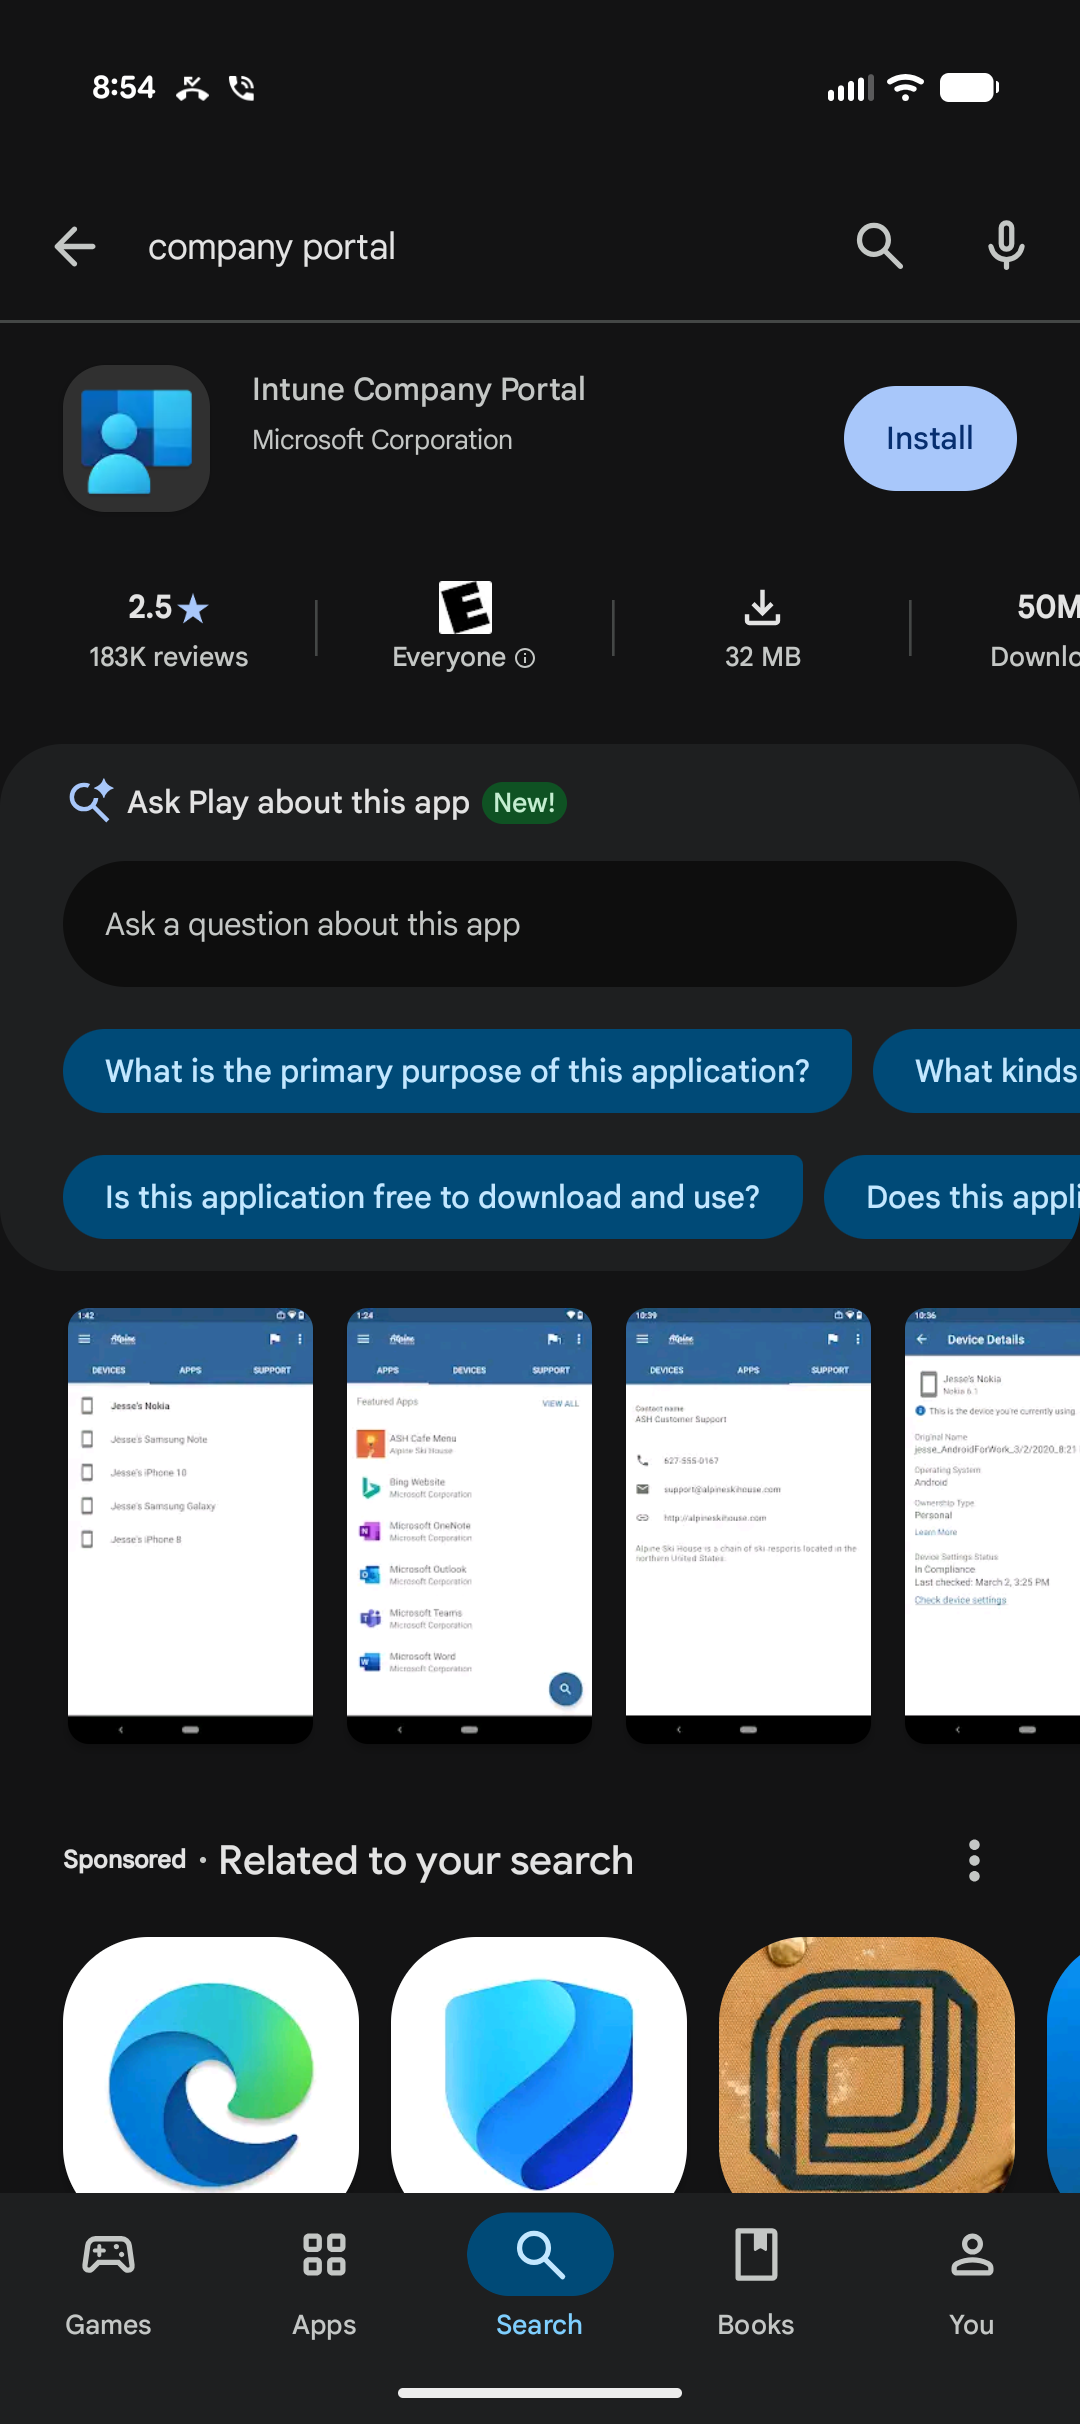
- Select Intune Company Portal (publisher: Microsoft Corporation) and tap Install.
Figure 1. Open Play Store from the home screen |
Figure 2. Search for "company portal" |
Figure 3. Tap Install on Intune Company Portal |
Step 2: Open Company Portal and Allow Notitications
- OpenCompanyPortal once installation finishes.
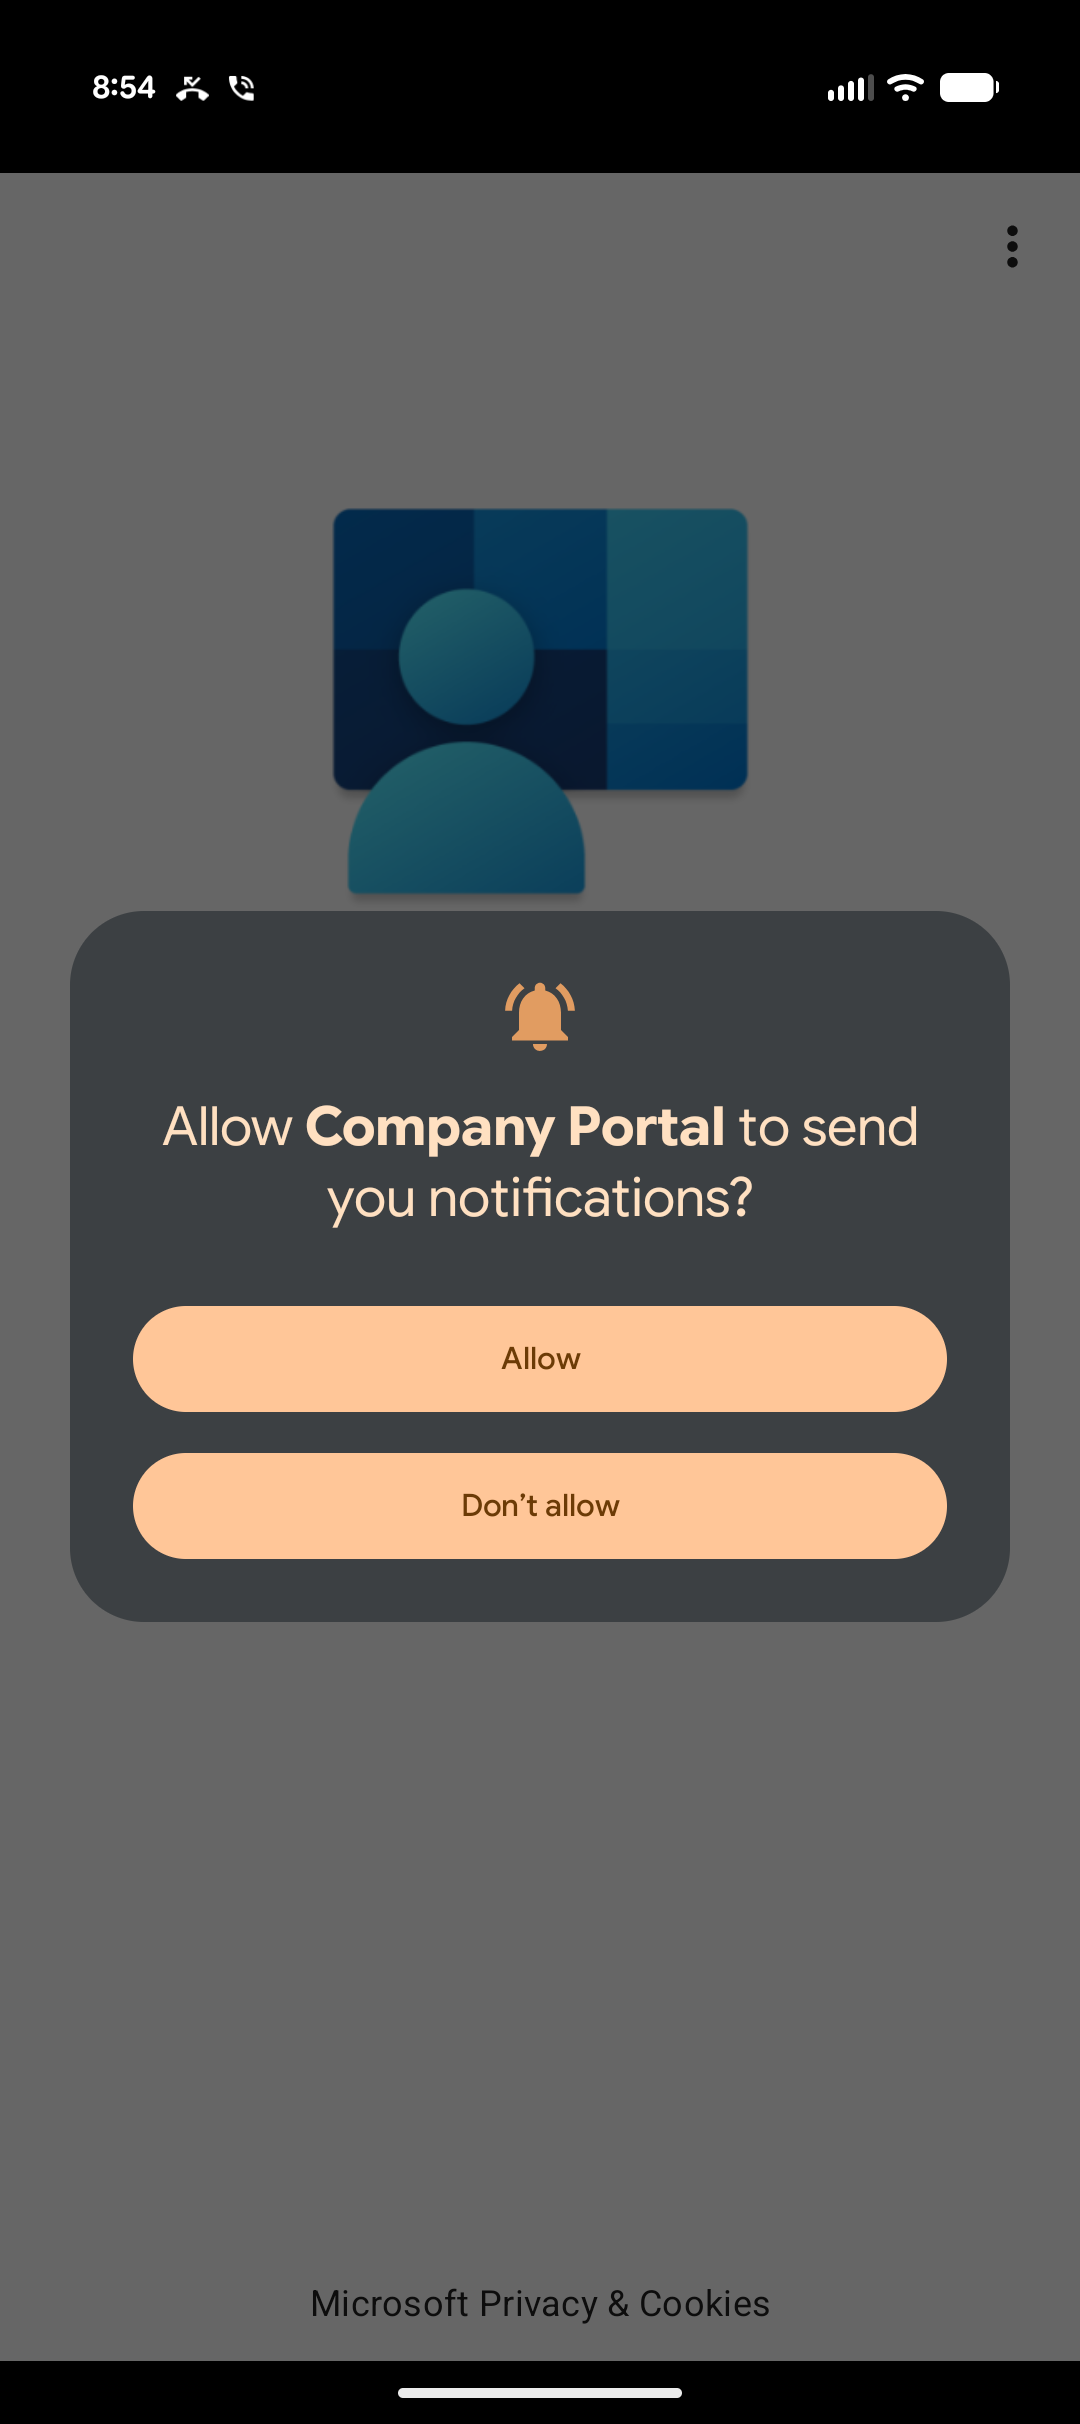
- When asked "Allow Company Portal to send you notifications?", tap Allow. Notifications are how IT contacts you about your device.
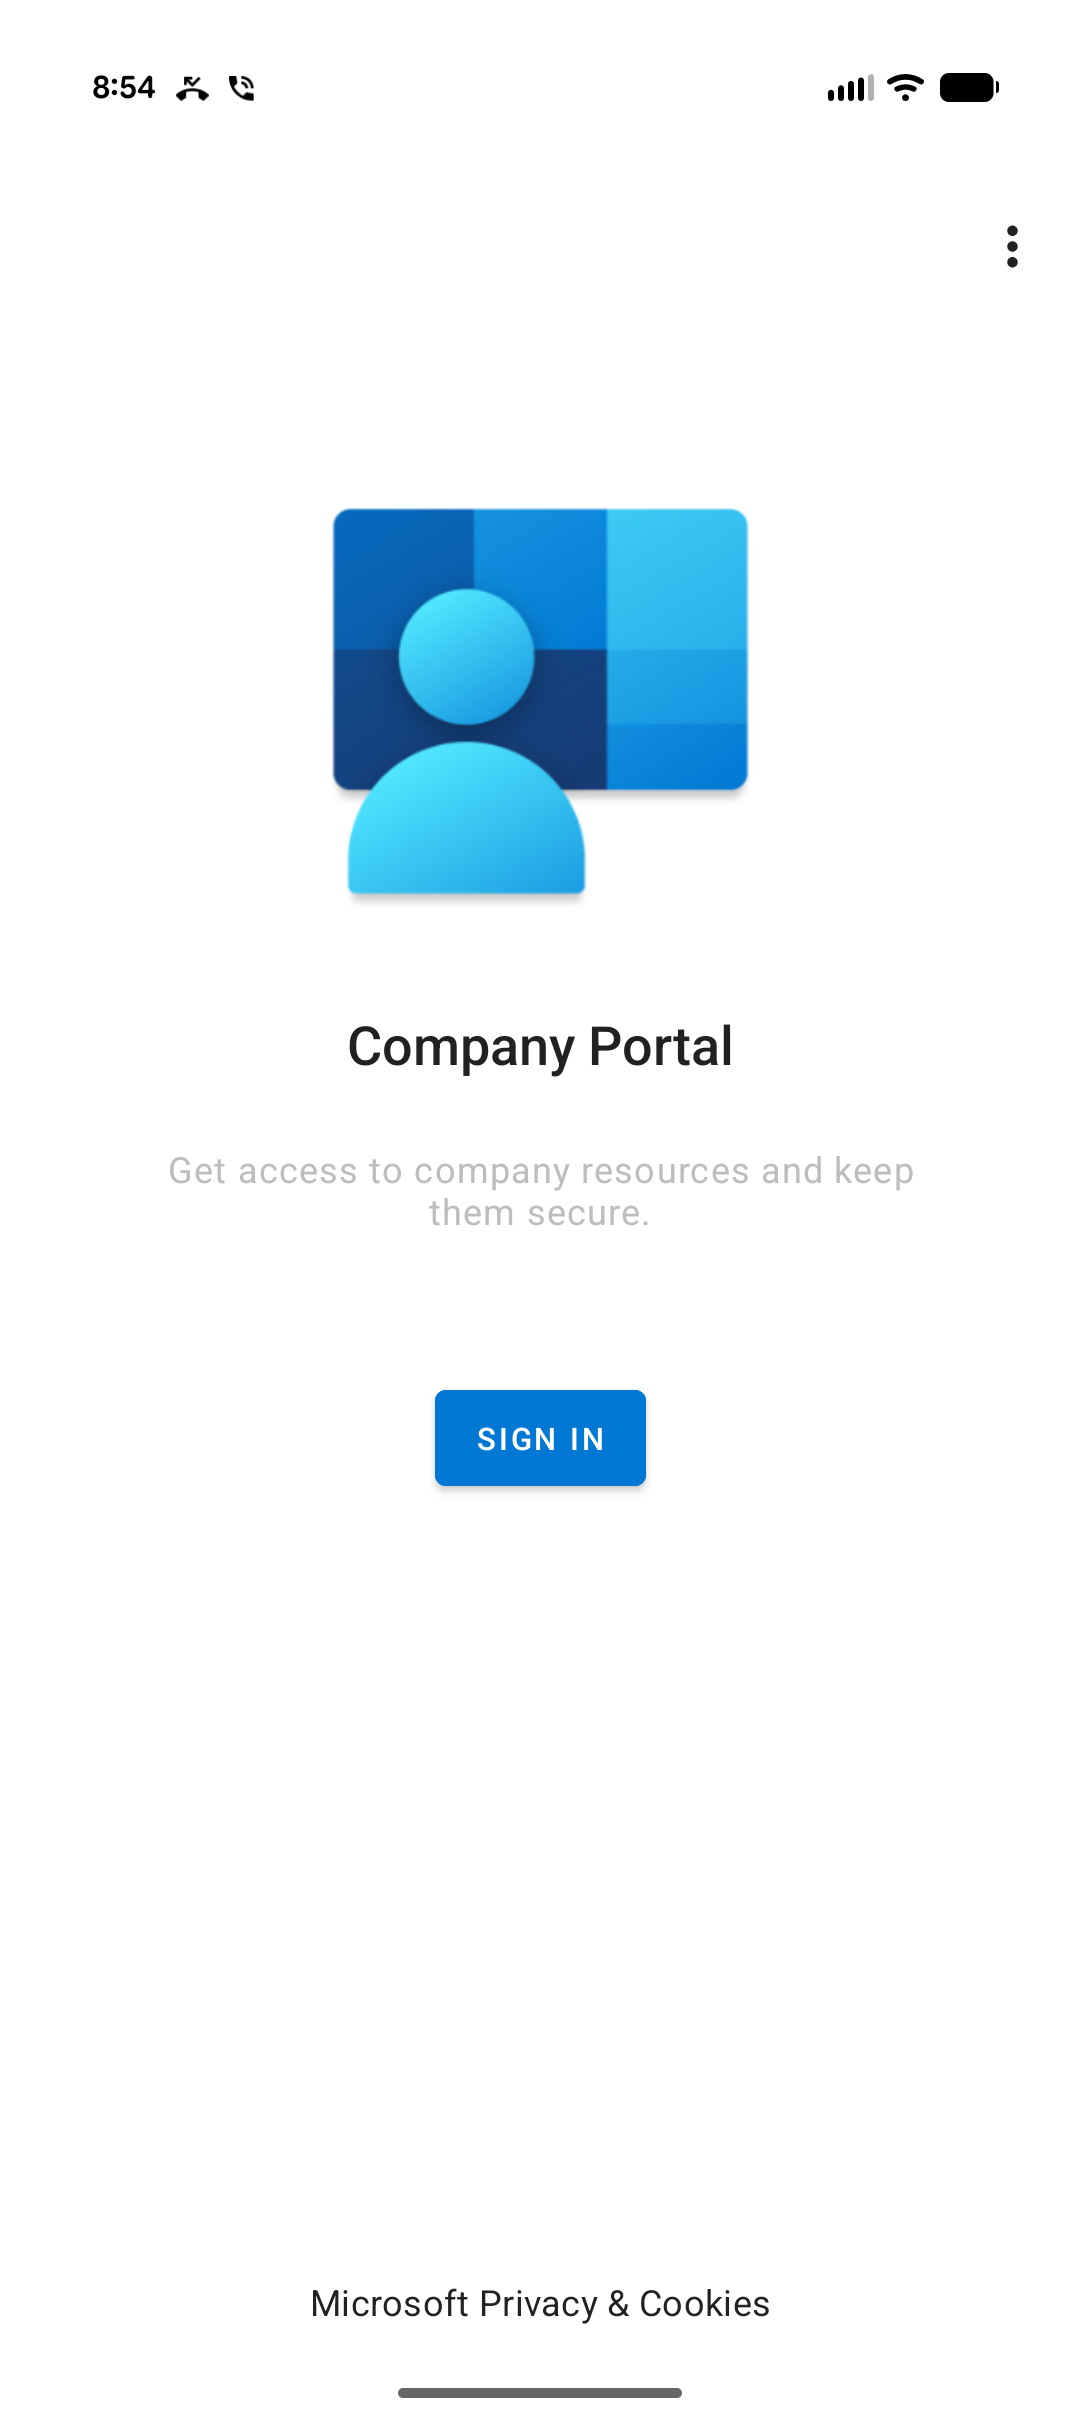
- Tap SIGN IN.
Figure 4. Tap Allow for notifications |
Figure 5. Tap SIGN IN |
Step 3: Sign In with Work Account
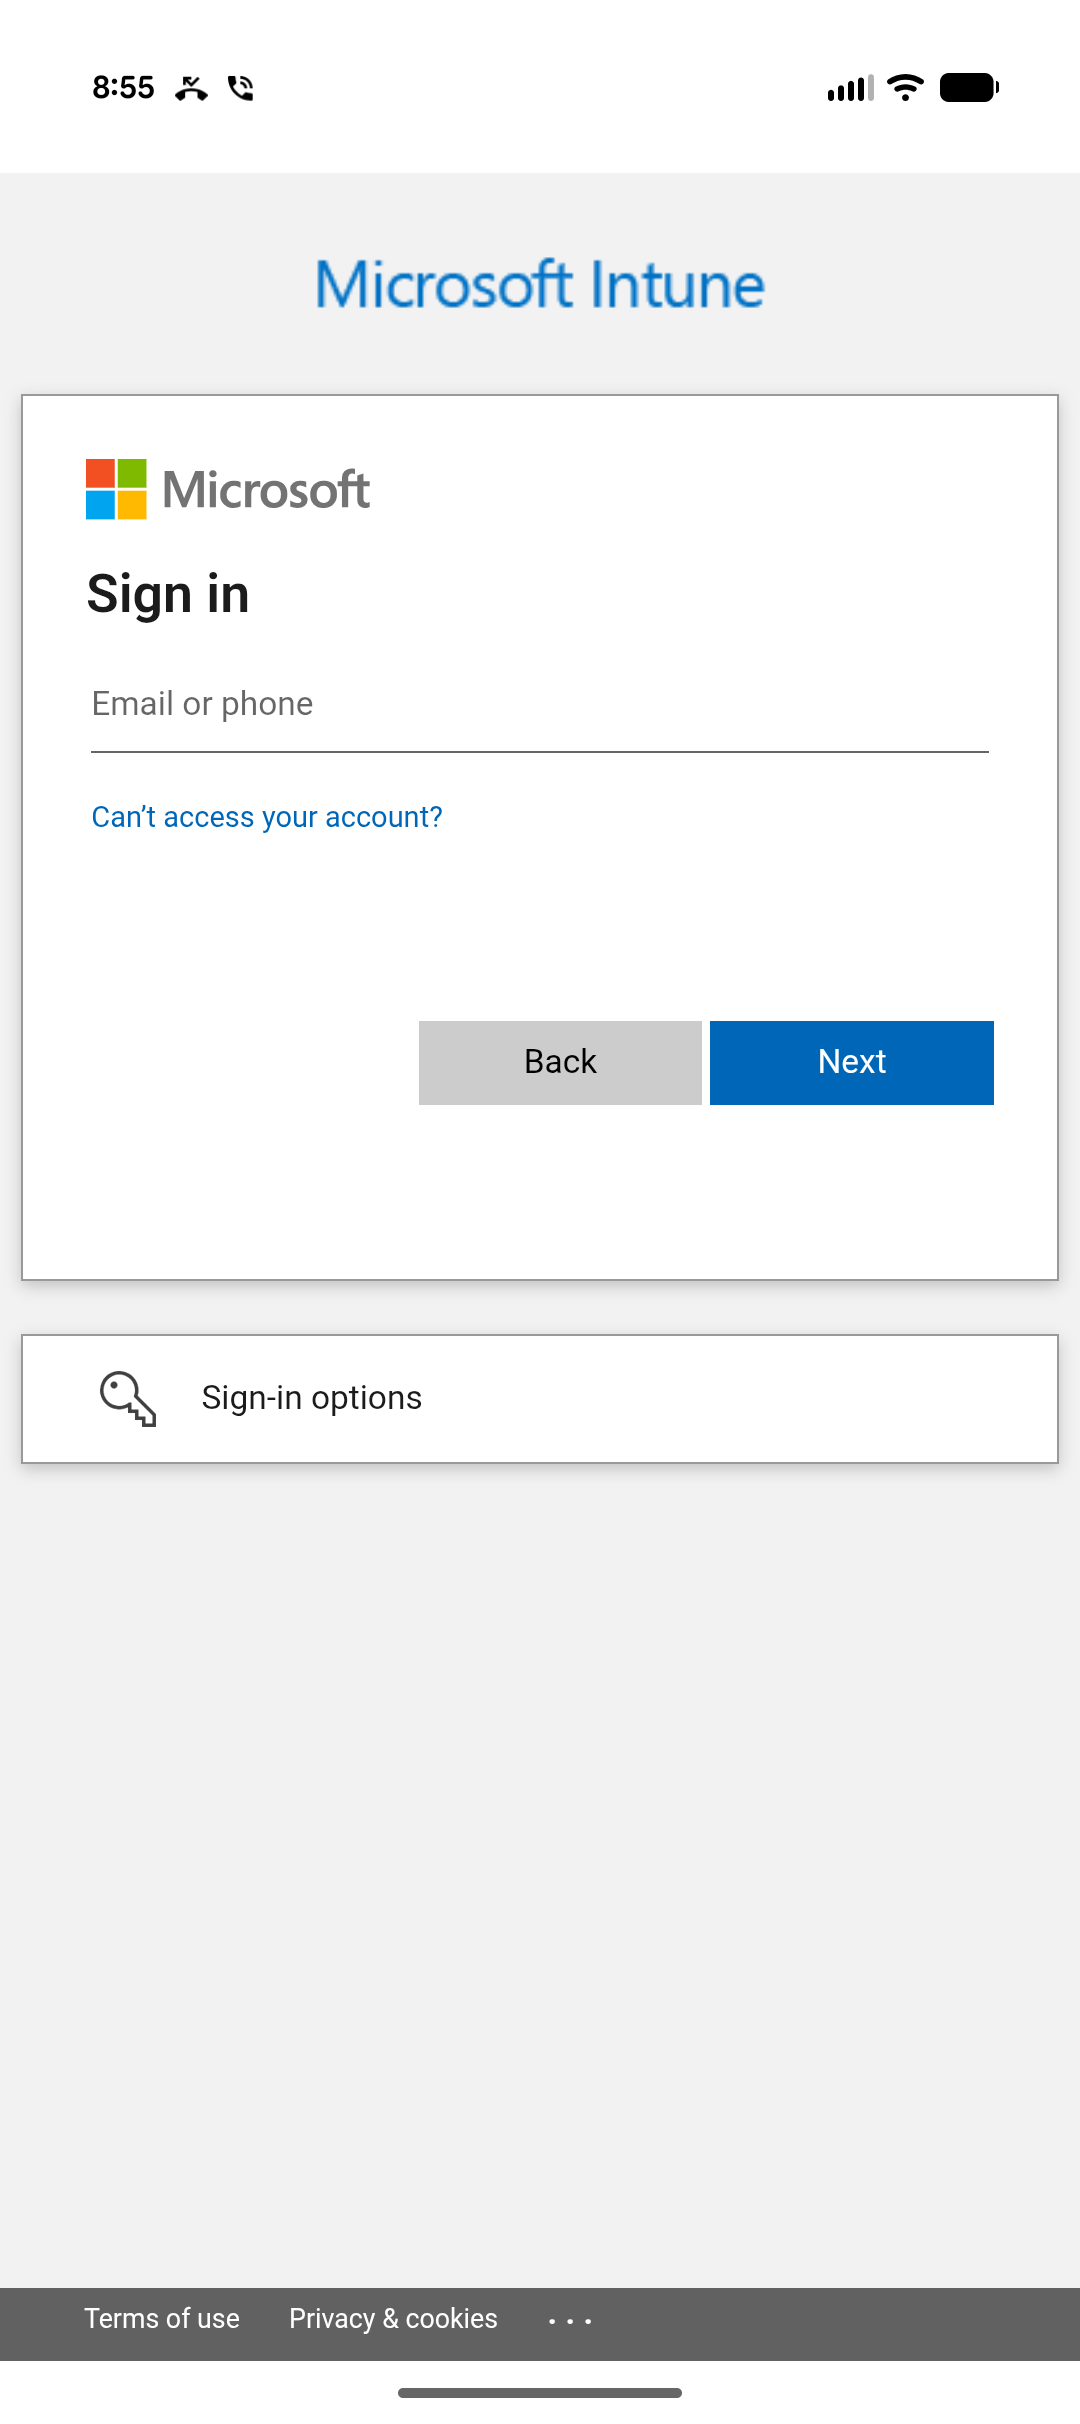
- Enter your work email address and tap Next.
- Enter your work password and complete anyadditionalverification prompt.
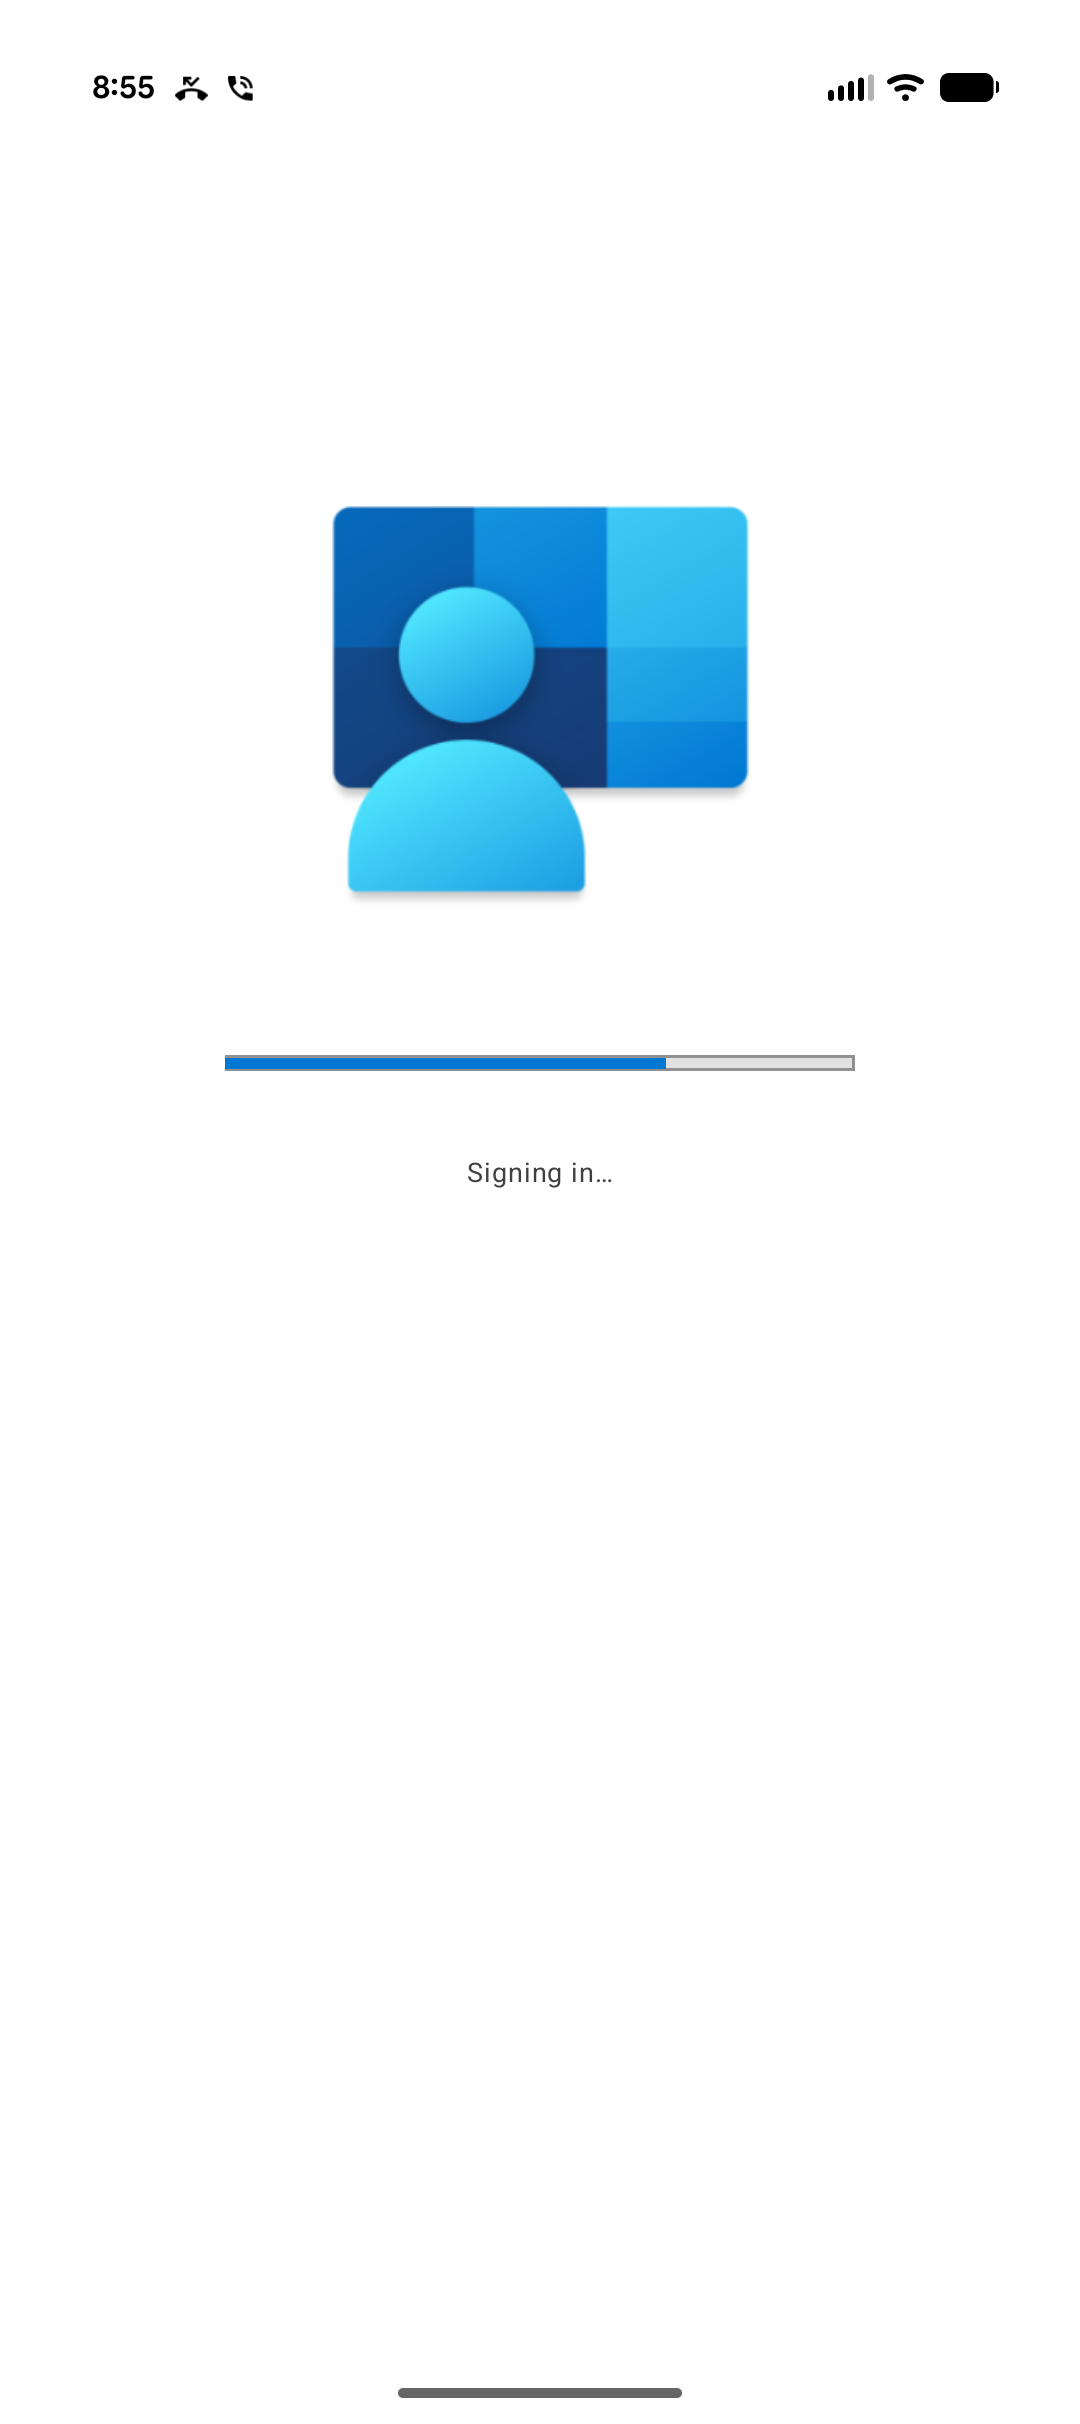
- Wait while the app shows "Signing in…".
Figure 6. Enter your work email and tap Next |
Figure 7. Wait while signing in |
Step 4: Being Access Setup
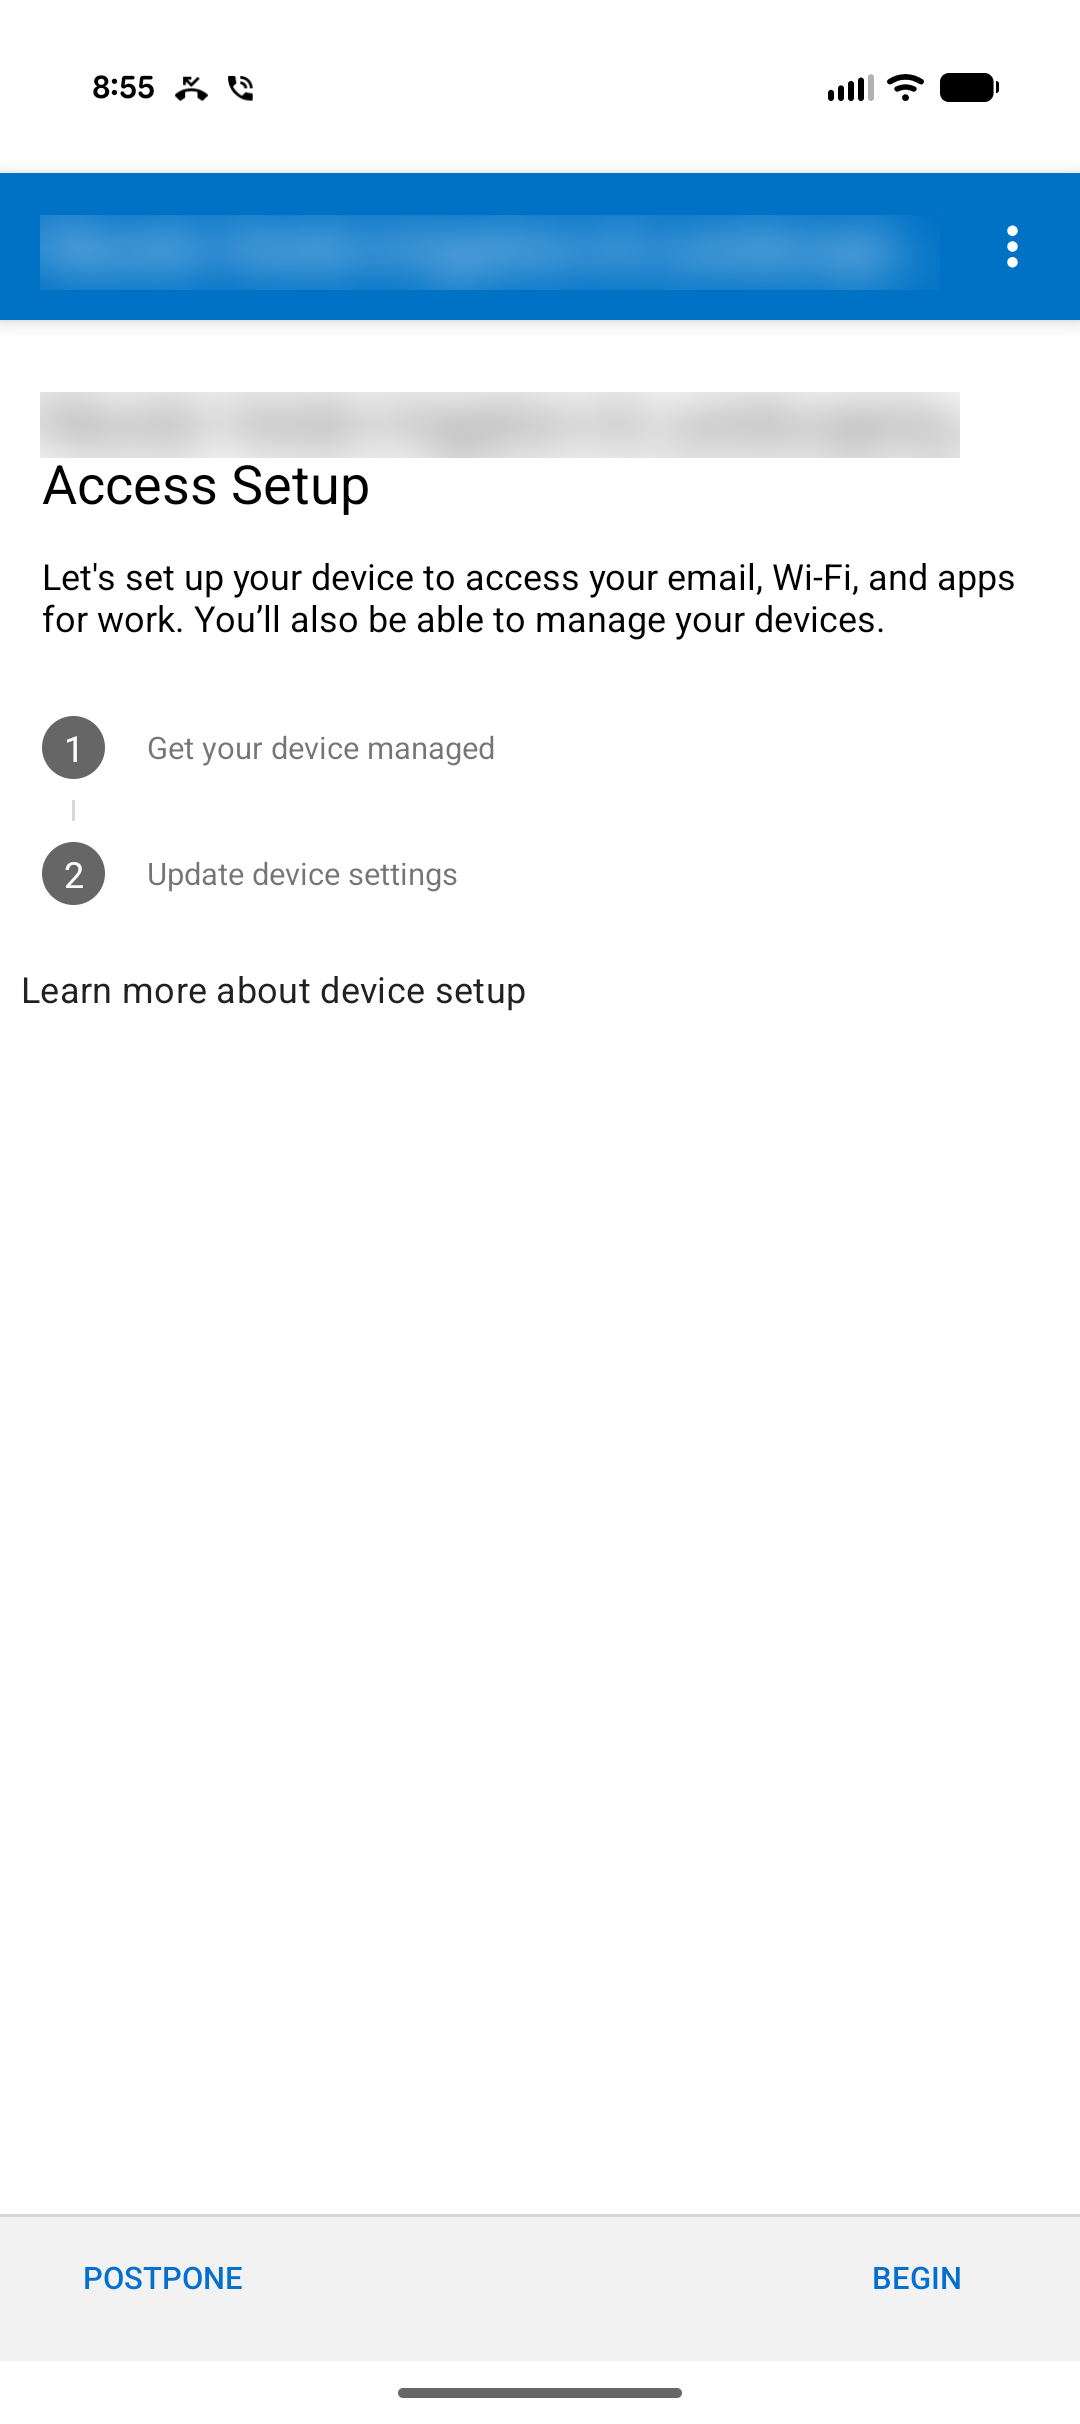
The Access Setup screen lists the two stages of enrollment: "Get your device managed" and "Update device settings." Tap BEGIN to start. Tap POSTPONE only if you need to stop and finish later; your access to work resources will not be granted until enrollment is complete.
Figure 8. Access Setup: tap BEGIN |
Figure 9. Review the privacy summary, then tap CONTINUE |
Step 5: Allow Required Permissions
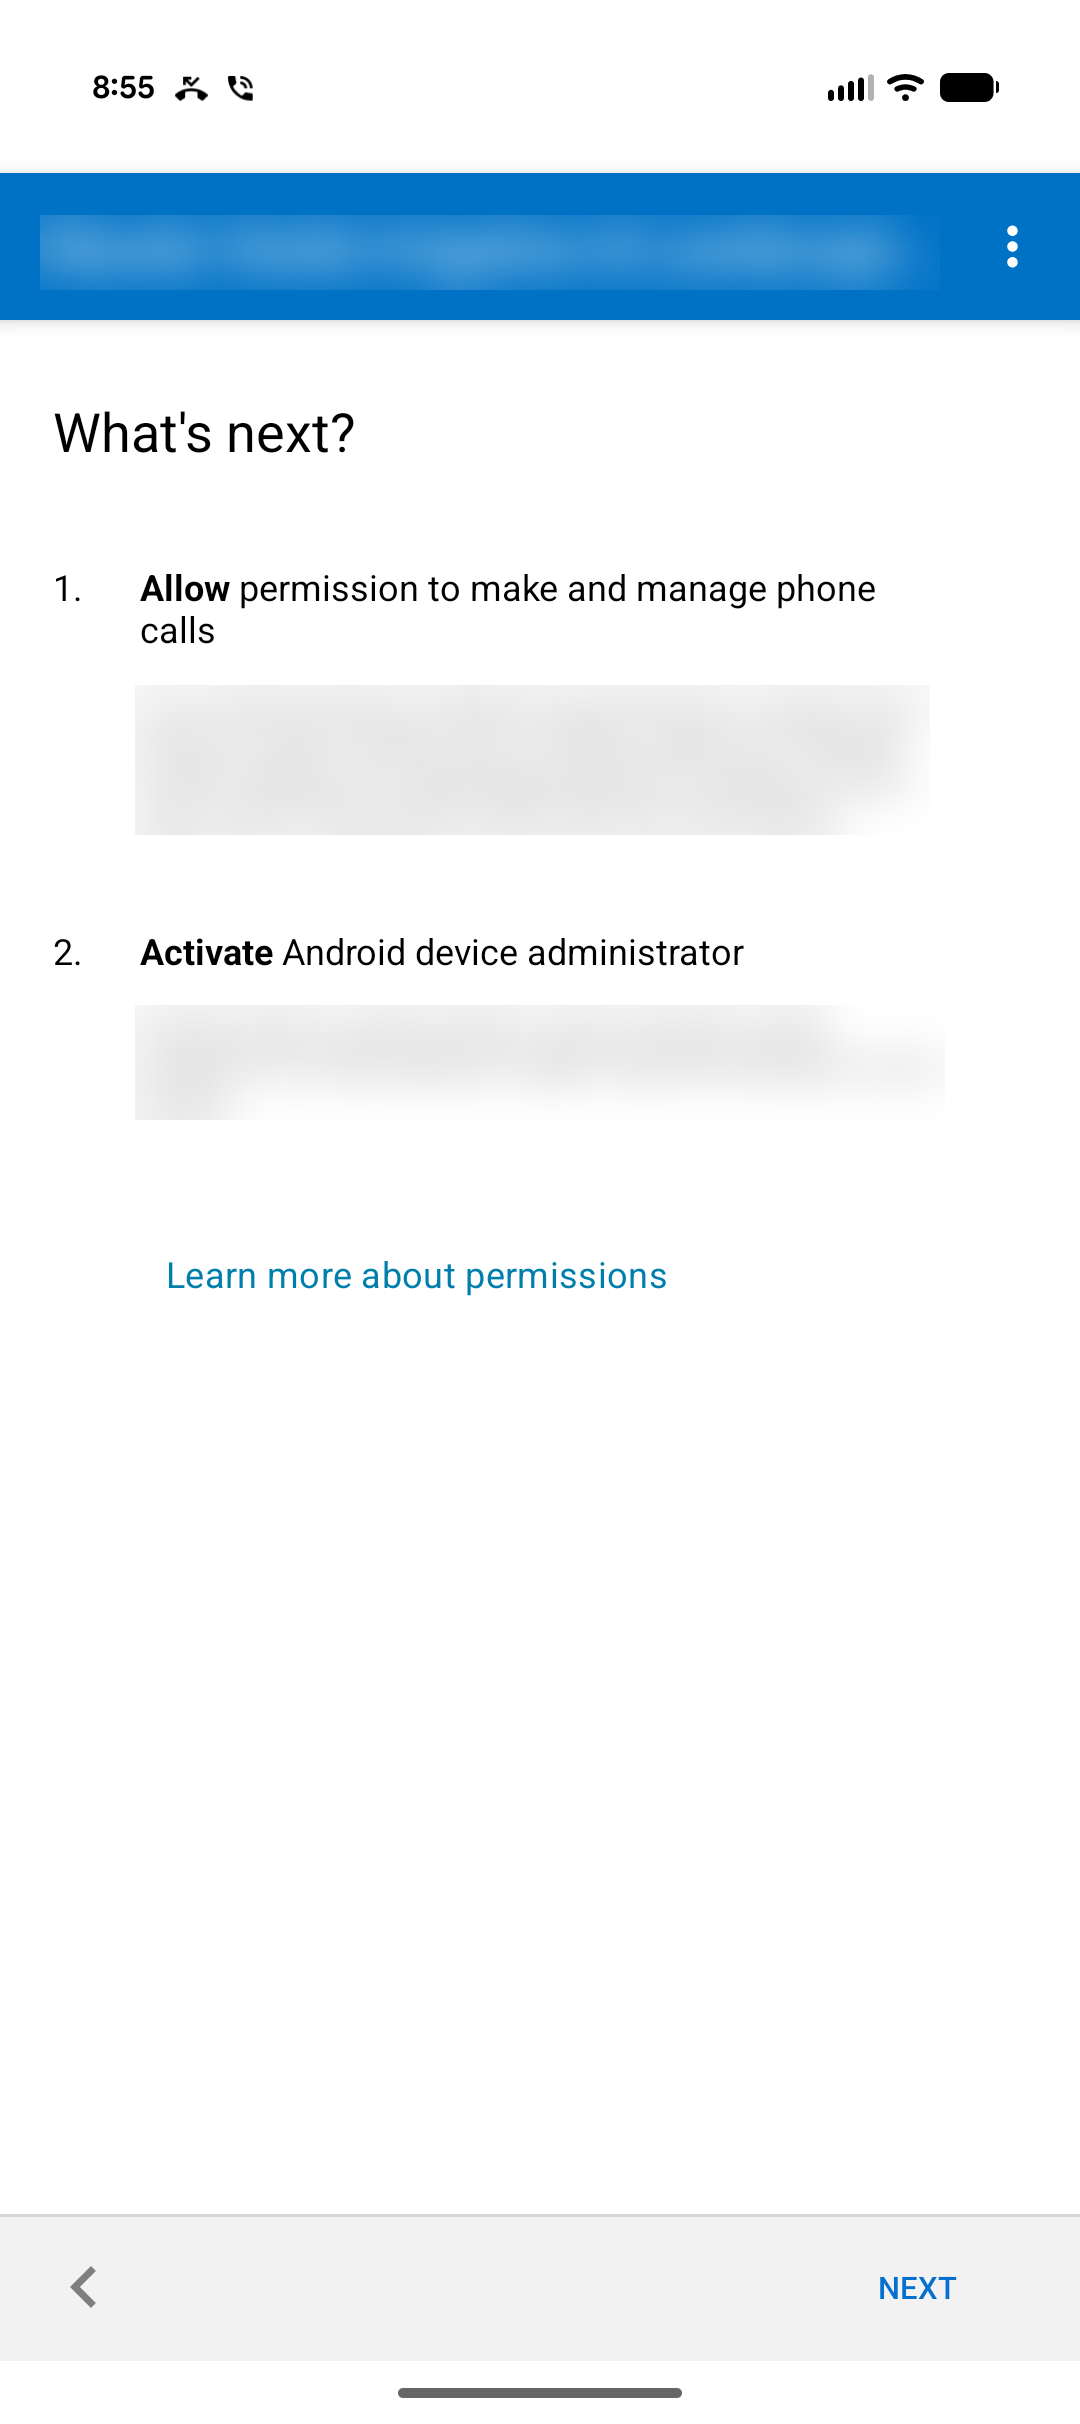
The "What's next?" screen lists two permissions:
- Allow permission to make and manage phone calls. Androidrequiresthis so the device can report its serial number and cellular antenna ID. Company Portal does not make calls.
- Activate Android device administrator. This allows the company to apply required security settings, such as a screen lock and encryption.
Tap NEXT to continue.
Figure 10. Review the permissions, then tap NEXT |
Step 6: Activate Device Administrator
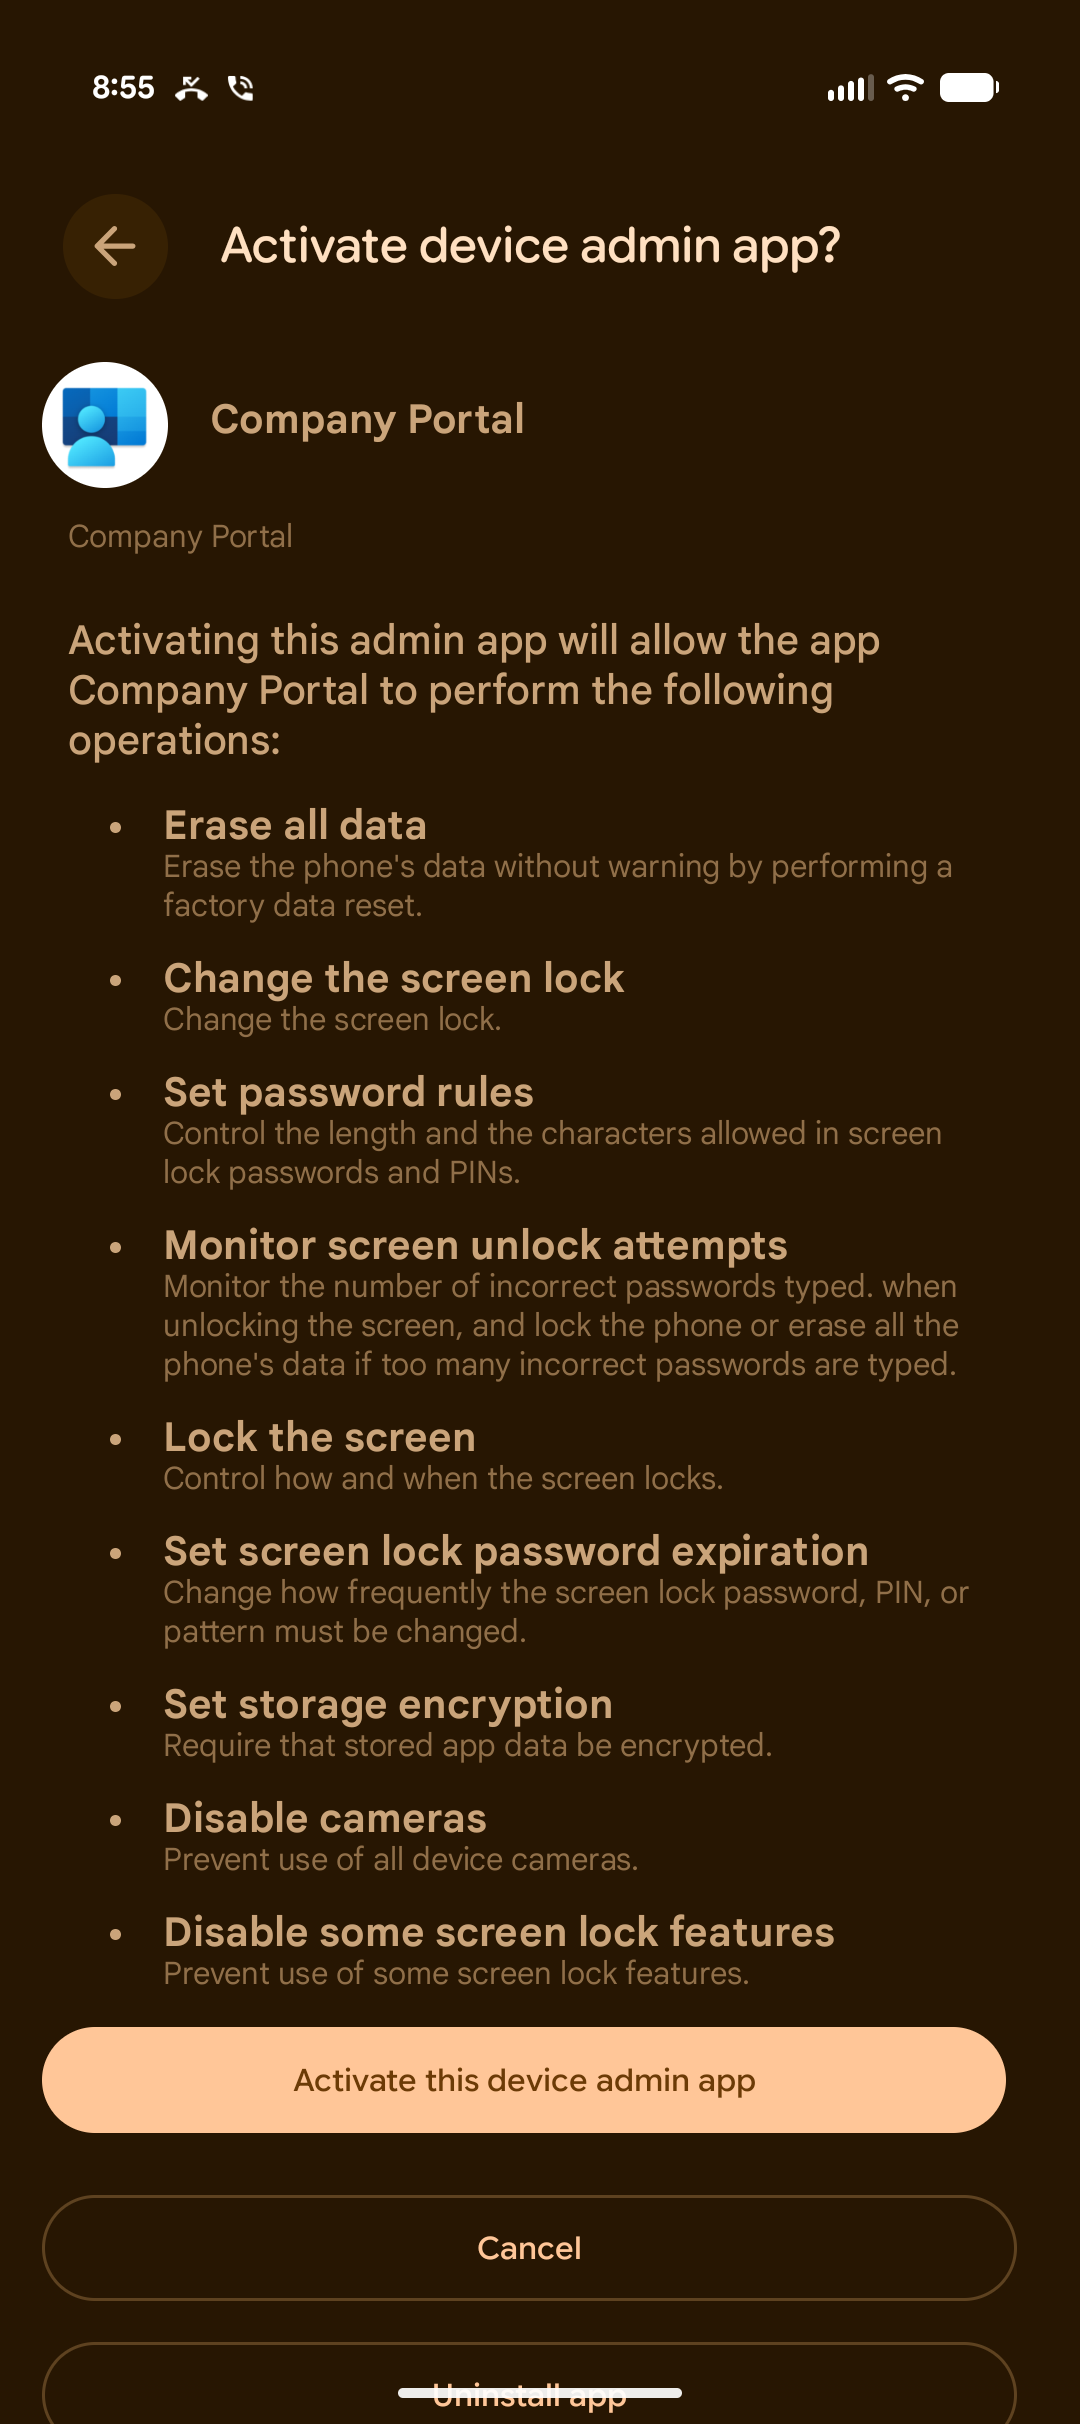
Android will show the "Activate device admin app?" screen for Company Portal. It lists the operations the company is allowed to perform. These are standard settings for managed devices. Work data is protected and your personal data is not affected.
- Read the list, then tap Activate this device admin app.
- Do not tap Cancel. Cancelling stops enrollment, and you will not be able to access work resources.
Important: Device Administrator cannot be turned off while Company Portal is enrolled. To remove it later, contact IT.
Figure 11. Tap Activate this device admin app |
Step 7: Wait for Setup to Finish
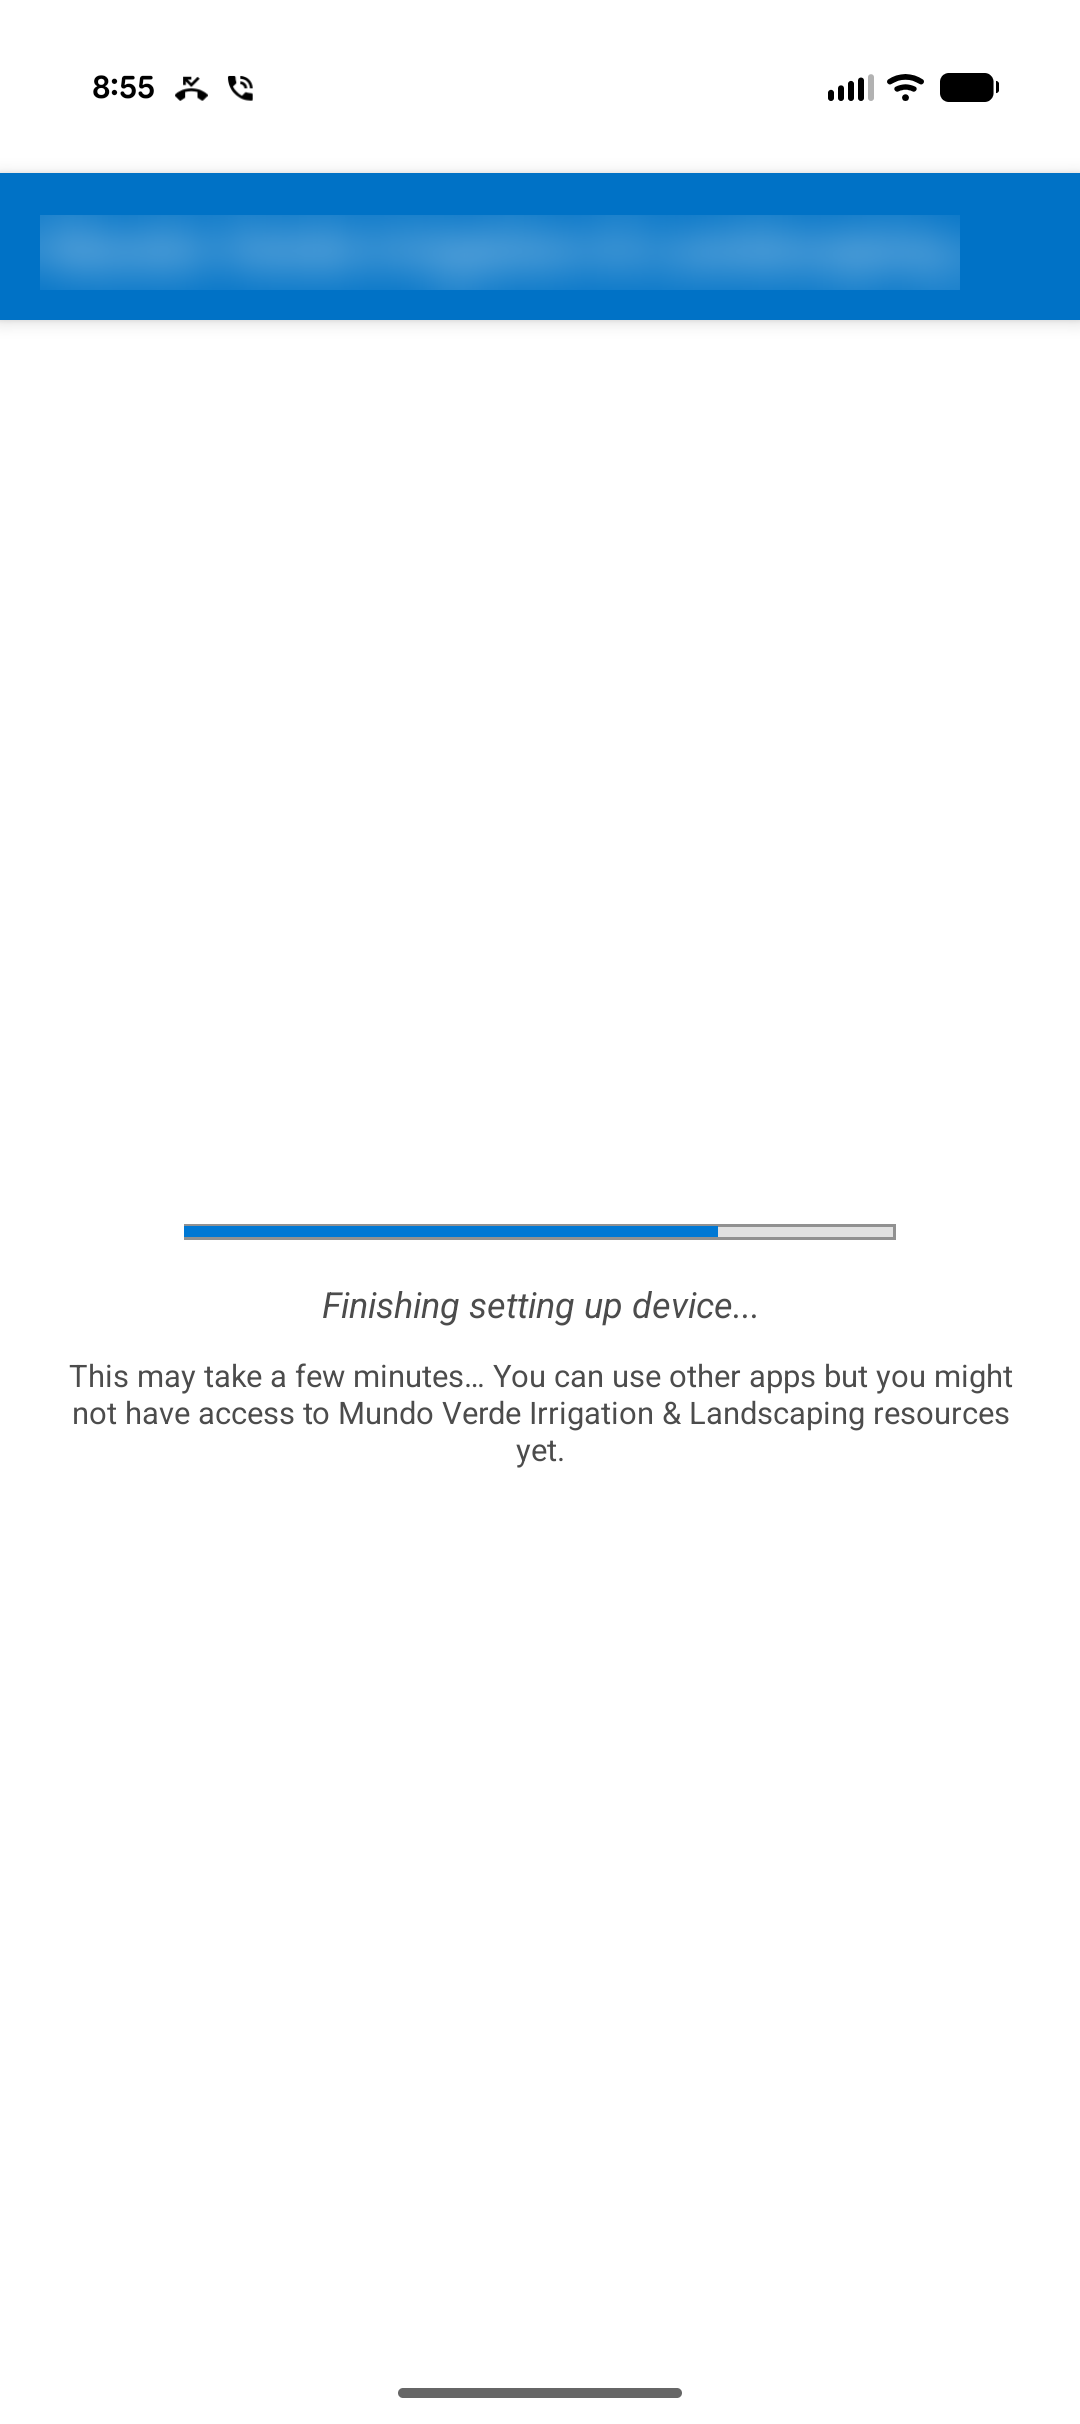
The phone will show "Finishing setting up device…". This can take several minutes. You can use other apps during this time, but work resources may not be available yet. Do not restart the phone or close Company Portal.
Figure 12. Finishing setup. Please wait. |
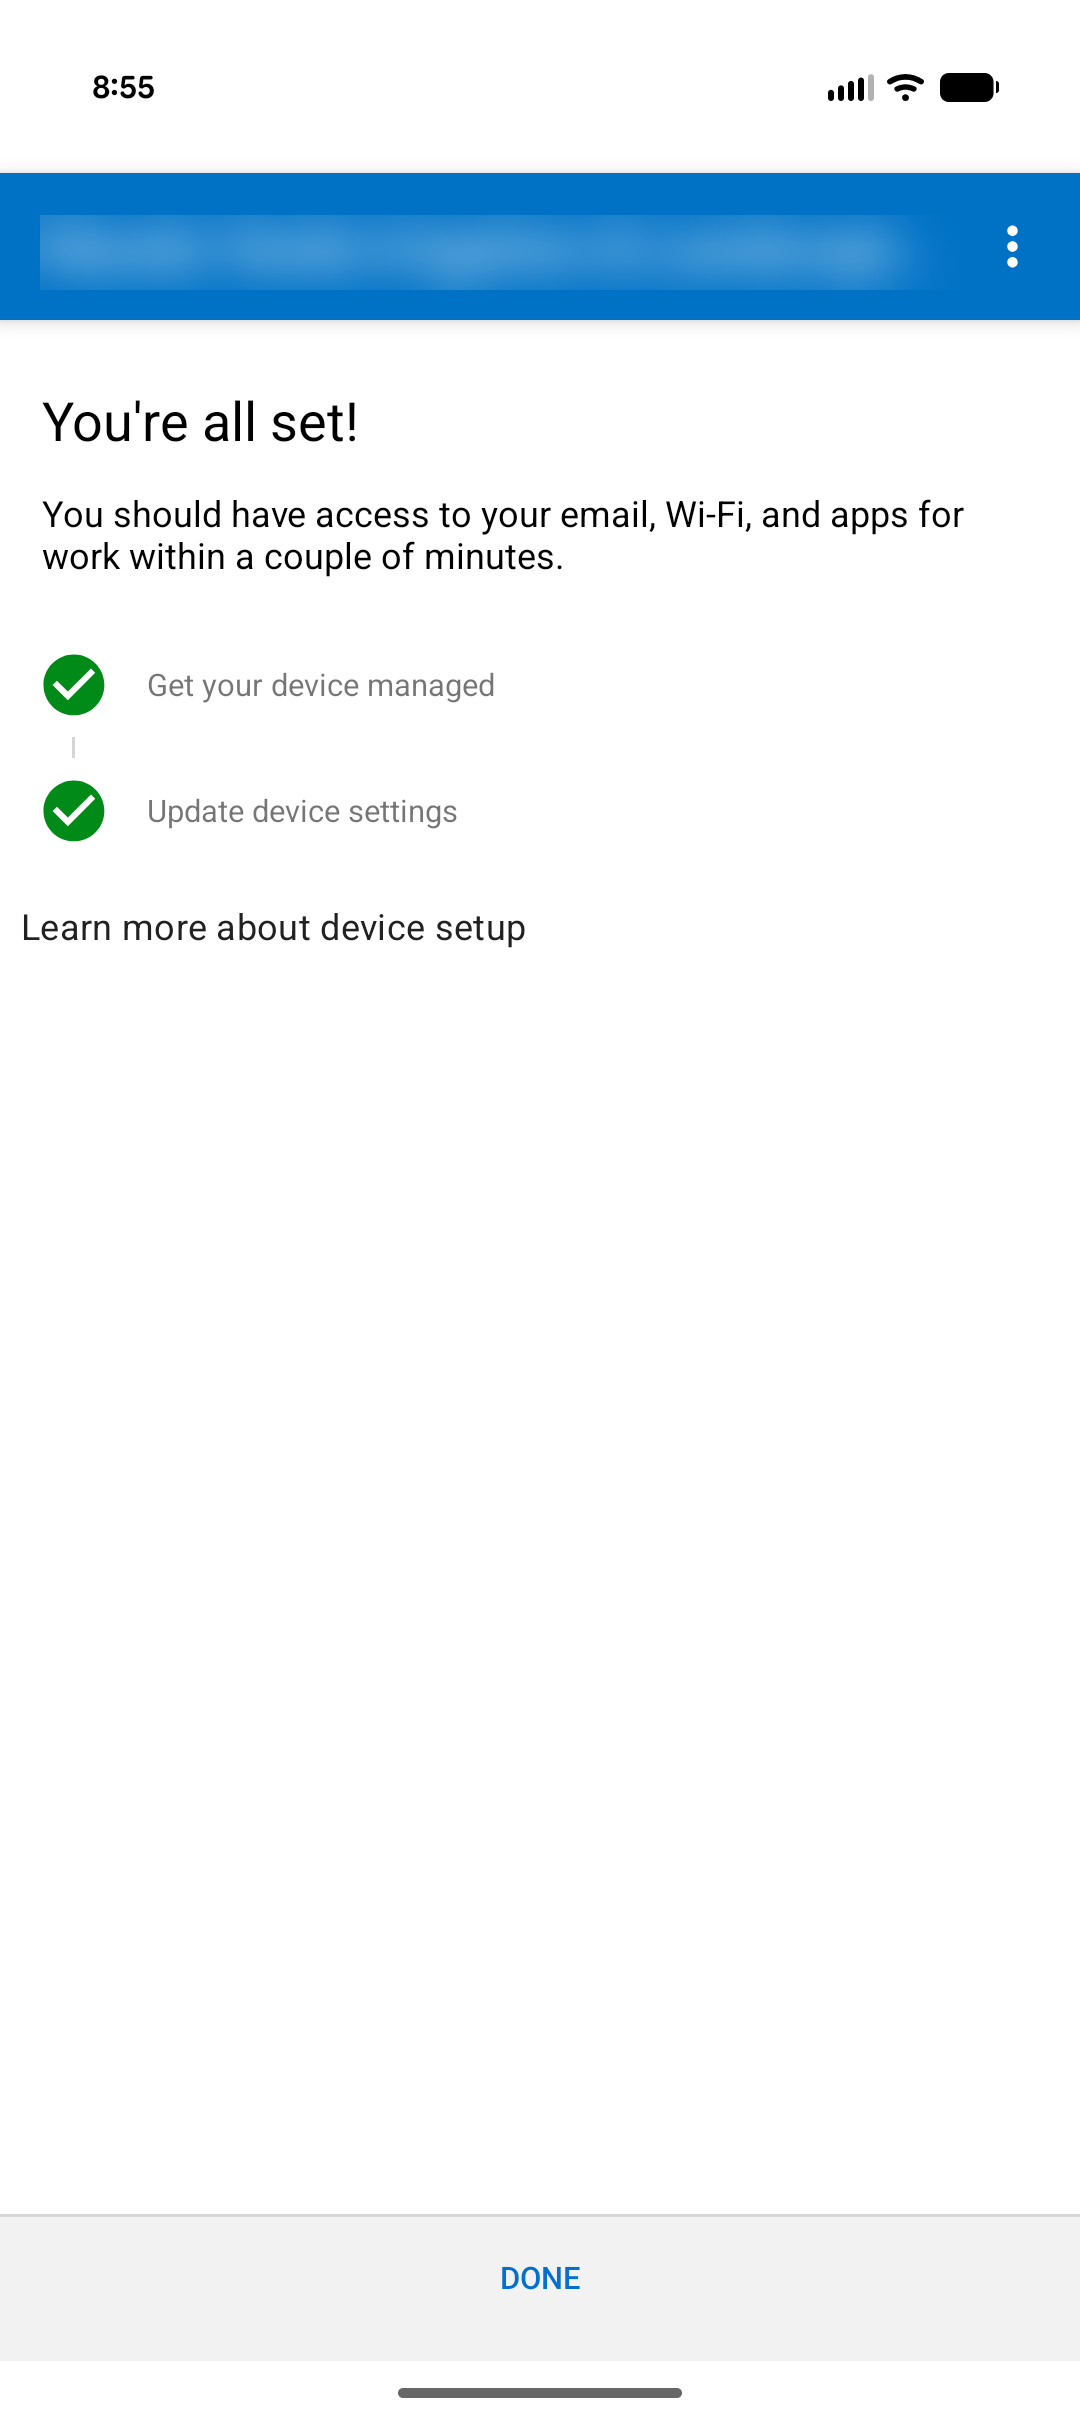
Figure 13. "You're all set!" Tap DONE |
Step 8: Confirm Enrollment
When you see "You're all set!" with both steps marked complete, tap DONE.When you see "You're all set!" with both steps marked complete, tap DONE.Ho
Was this article helpful?
That’s Great!
Thank you for your feedback
Sorry! We couldn't be helpful
Thank you for your feedback
Feedback sent
We appreciate your effort and will try to fix the article